Деякі користувачі Windows, які нещодавно перейшли на Windows 10, подавали скарги на те, що панель завдань кілька разів повністю замерзала. Коли це трапляється, користувачі не можуть клацнути будь-який елемент на панелі завдань, тобто меню «Пуск», піктограми, сповіщення. Крім того, ярлики, такі як Windows + R та Windows + X, не працюють.
Ця проблема не має першопричини, оскільки вона дуже поширена у Windows. Деякі, однак, пов’язують його з Dropbox та парою несправних програм. У цій статті ми розглянемо різні варіанти вирішення цієї проблеми. Сюди входить запуск сканування SFC, видалення певних програм, запуск Explorer, серед іншого.
Спосіб 1: Перезапуск Провідника Windows
- Натисніть клавіші Ctrl + Shift + Esc, щоб запустити диспетчер завдань Windows.
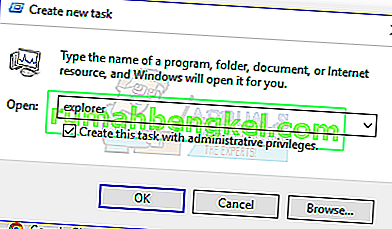
- У диспетчері завдань натисніть Файл > Запустити нове завдання . Введіть провідник у відкрите поле, а потім поставте прапорець біля пункту «Створити це завдання з адміністративними привілеями» та натисніть кнопку ОК .

Ви також можете:
- Натисніть клавіші Ctrl + Shift + Esc, щоб запустити диспетчер завдань Windows.
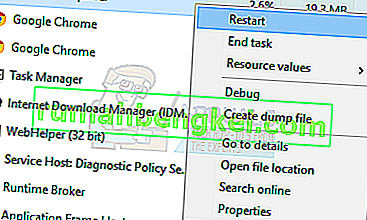
- Шукайте Explorer на вкладці процесів
- Клацніть правою кнопкою миші запис Провідника та виберіть Перезапустити .
- Провідник перезапуститься, і панель завдань повинна знову запрацювати

Спосіб 2: Запуск сканування SFC
- Натисніть клавіші Ctrl + Shift + Esc, щоб запустити диспетчер завдань Windows.
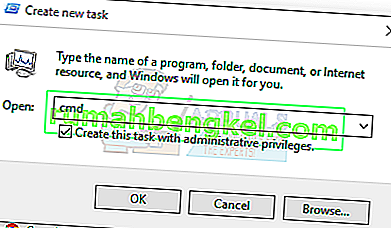
- У диспетчері завдань натисніть Пуск> Запустити нове завдання . Введіть cmd у відкрите вікно, а потім поставте прапорець біля пункту «Створити це завдання з адміністративними привілеями» та натисніть OK .
- У командному рядку введіть такі команди та натисніть клавішу Enter після кожної команди:
sfc / scannow dism / Online / Cleanup-image / Restorehealth
Це призведе до перевірки системних файлів та відновлення всіх пошкоджених системних файлів на вашому комп’ютері.
- Перезавантажте ПК і перевірте, чи не припинила заморожена панель завдань.

Спосіб 3: Виправлення Powershell
Використовуйте цю команду Powershell, щоб розморозити заморожену панель завдань, виконавши ці дії.
- Ctrl + Shift + Esc, щоб запустити диспетчер завдань Windows.
- Клацніть на Детальніше , виберіть вкладку Служби та переконайтеся, що MpsSvc (брандмауер Windows) запущений.
- Натисніть клавішу Windows + R, щоб відкрити підказку "Виконати". Введіть powershell у підказці та натисніть Enter.
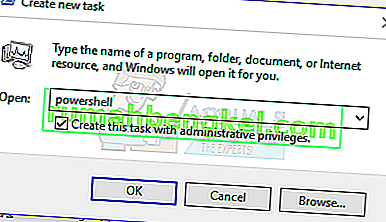
Якщо запит на запуск не вдається відкрити, натисніть клавіші Ctrl + Shift + Esc, щоб запустити диспетчер завдань Windows, натисніть Пуск> Запустити нове завдання . Введіть powershell у відкрите поле, а потім поставте прапорець біля пункту «Створити це завдання з адміністративними привілеями» та натисніть кнопку OK .
- У вікні Powershell вставте таку команду та натисніть Enter:
Get-AppXPackage -AllUsers | Foreach {Add-AppxPackage -DisableDevelopmentMode -Register “$ ($ _. InstallLocation) \ AppXManifest.xml”}. - Після цього ваша панель завдань повинна бути повністю функціональною.

Спосіб 4: Увімкніть диспетчер користувачів
Вимкнений менеджер користувачів може призвести до замороженої панелі завдань Windows 10. Спробуйте знову ввімкнути Менеджер користувачів, виконавши ці дії.
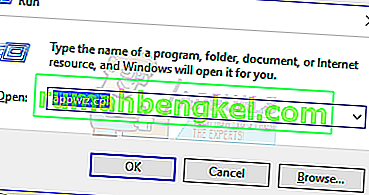
- Натисніть клавішу Windows + R , введіть services.msc і натисніть OK . Це відкриває консоль служб.
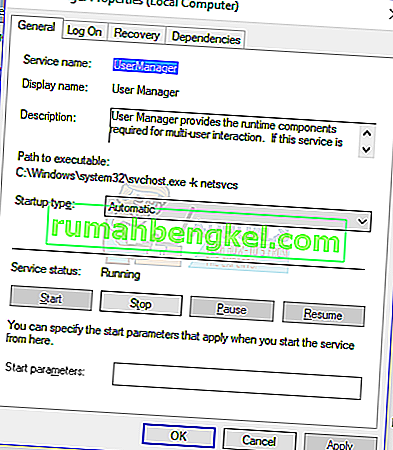
- Знайдіть User Manager і двічі клацніть на ньому.
- Встановіть для типу запуску значення Автоматичне та запустіть службу, якщо її було зупинено. Клацніть OK .
- Перезапустіть свій ПК, і на цей час панель завдань повинна працювати бездоганно.

Спосіб 5. Видалення програм
Деякі користувачі ідентифікували певні програми, які спричинили належну роботу панелі завдань. Ці програми - Dropbox та Classic Shell . Якщо ви підозрюєте, що це спричиняє будь-які програми, ви можете їх також видалити.
- Натисніть клавіші Windows + R, щоб відкрити підказку про запуск. Введіть appwiz. cpl і натисніть Enter .
- Знайдіть програму у списку встановлених програм, а потім двічі клацніть на ній. Тепер дотримуйтесь вказівок, щоб завершити видалення.
- Перезавантажте ПК, а потім перевірте, чи працює панель завдань зараз належним чином.

Метод 6: Вимкнення нещодавно відкритих елементів
Нещодавно відкриті елементи можуть уповільнити запуск списку. Вимкнення їх робить це швидшим і запобігає замерзанню. Дотримуйтесь цих інструкцій, щоб вимкнути нещодавно відкриті елементи.
- Натисніть Win + I, щоб відкрити програму Налаштування.
- Перейдіть до Персоналізація> Пуск
- Пересуньте кнопку перемикача поруч із пунктом Показати нещодавно відкриті елементи у списках переходів на Пуску або панелі завдань, щоб вимкнути його.

- Панель завдань не повинна зависати під час завантаження під час наступної перезавантаження

Метод 7: Скинути служби Windows 10 за замовчуванням
Якщо на даний момент жоден із перерахованих вище методів не спрацював, спробуйте запустити цей сценарій як адміністратор, клацнувши правою кнопкою миші на ньому та вибравши Запуск від імені адміністратора . Якщо з якихось причин ваш WiFi більше не працює, виконайте наведені тут дії (у Методі 3 - Крок 2: Варіант 2), щоб вирішити проблему з WiFi.
Спосіб 8: Створіть новий обліковий запис користувача
У деяких ситуаціях помилка може бути спровокована, якщо параметри або конфігурації вашого облікового запису користувача не були встановлені належним чином, а також якщо у цих даних конфігурації є пошкодження. Тому, як альтернативу, ви можете спробувати створити новий обліковий запис користувача на вашому комп’ютері з Windows 10, а потім імпортувати дані зі старішого облікового запису пізніше, якщо це вирішить проблему. Для цього:
- Натисніть “Windows” + “I”, щоб відкрити налаштування, і натисніть опцію “Облікові записи” .
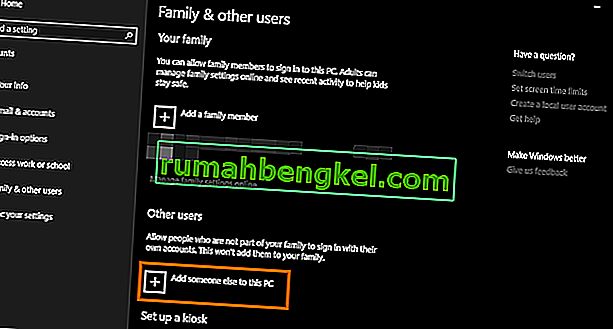
- В опції облікових записів натисніть кнопку «Сім'я та інші користувачі» зліва.
- Виберіть у меню опцію « Додати когось іншого до цього ПК ».
- У наступному вікні натисніть кнопку «У мене немає даних для входу цієї особи» .
- Клацніть на опцію «Додати користувача без облікового запису Microsoft» у новому вікні, що з’явиться.
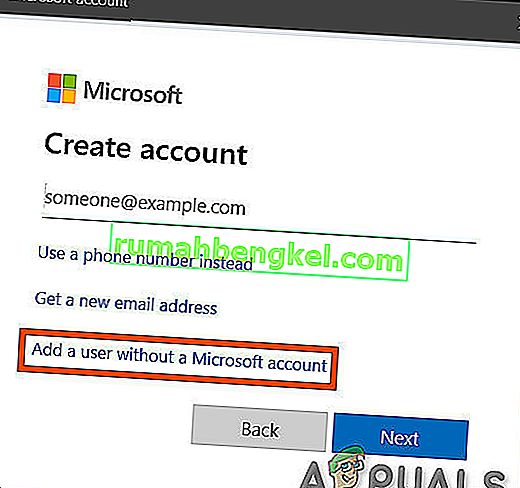
- Введіть ім'я користувача облікового запису користувача та призначте йому пароль.
- Введіть питання безпеки, дайте відповіді на них, а потім натисніть на опцію «Далі» .
- Після створення цього облікового запису натисніть на нього, а потім виберіть опцію “Змінити тип рахунку” .
- Клацніть на спадне меню "Тип облікового запису", а потім виберіть опцію "Адміністратор" .
- Збережіть зміни та увійдіть до цього облікового запису.
- Після входу в обліковий запис запустіть Steam і перевірте, чи працює гра.


If doing so fixes the issue on your computer, make sure to import the user account data from the previous account onto this new one and continue to use it normally.
Method 9: Diagnosing in Safe Mode
Sometimes, you might have installed some third-party applications on your computer that might be preventing you from being able to properly run the taskbar or its associated services. In addition to that, it is possible that even a Windows’ or Microsoft’s service is preventing the proper functioning of the computer. Therefore, in this step, we will be diagnosing this issue in the safe mode and then we will check to see if it can be fixed. For that:
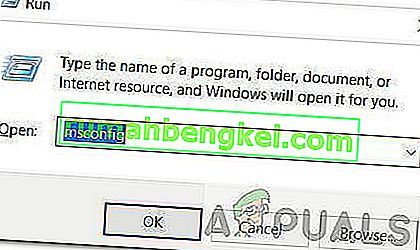
- Press “Windows”+ “R” to launch the run prompt.
- Type in “MSCONFIG” and press “Enter” to launch the Microsoft configuration window.
- In this window, click on the “Services” tab and uncheck the “Hide all Microsoft Services”
- After unchecking this option, click on the “Disable All” button and click on “Apply” to save your changes.
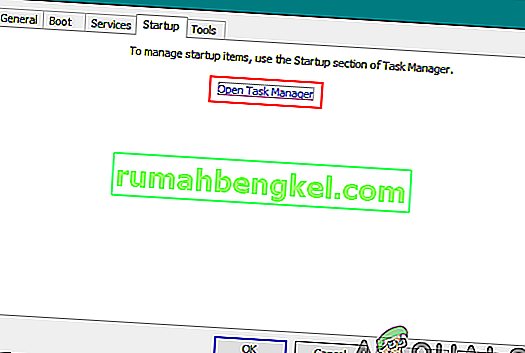
- After that, click on the “Startup” tab and then click on the “Open Task Manager” button to launch the task manager.
- In the Task Manager, click on each application that has been enabled and then click on the “Disable” button to prevent it from launching at startup.
- Restart your computer to now boot into the safe mode.
- In the safe mode, check to see if your taskbar freezes after some time or even at startup.
- If the taskbar doesn’t freeze inside this mode, it means that a third-party application or service was causing this issue.
- Start enabling the applications one by one and check to see which one makes the issue come back.
- If all the applications are fine, start enabling the services one by one and check to see which one makes the issue come back.
- Keep the problematic service/application disabled or try to reinstall/update it.


Method 10: Performing System Restore
Some users found that performing a simple restore to an earlier working date fixed their issue but you will have to carefully select the restore point to which you will be restoring. It is recommended that you manually go through this process instead of using the automatic restore. In order to perform this step, follow the guide below.
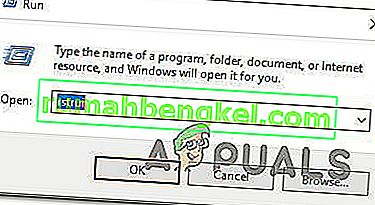
- Press “Windows” + “R” to open the Run prompt.
- Type in “rstrui” and press “Enter” to open the restore management window.
- Click on “Next” and check the “Show more Restore Points” option.
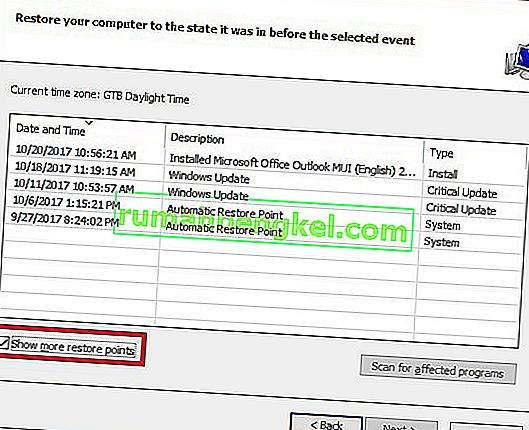
- Select a restore point in the list that is older than the date on which this issue started occurring on your computer.
- Click on “Next” again and follow the on-screen instructions to restore everything back to the date which you selected from the restore window.
- Check to see if doing so fixes the issue with the frozen taskbar.


Method 11: Toggle System Icons
It is possible in some cases that the system icon setting might be glitched on your computer due to which this issue is being triggered. Therefore, in this step, we will be toggling these icons and then we will check to see if doing so fixes the issue. For that:
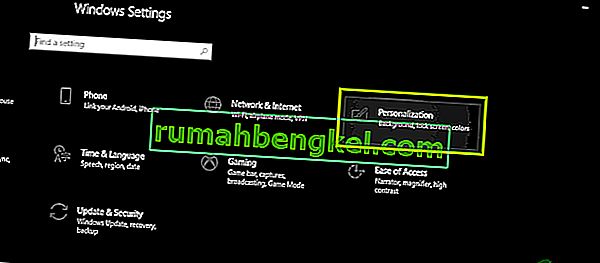
- Press “Windows” + “I” to open the settings and click on the “Personalization” option.
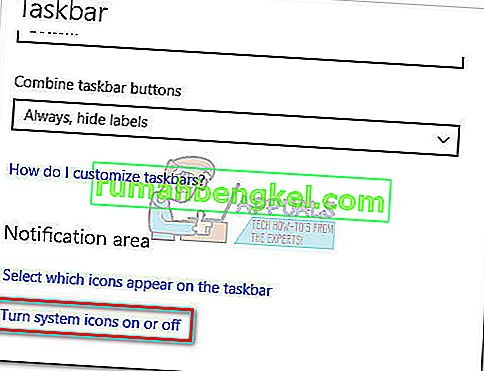
- From the left side, click on the “Taskbar” button.
- Under the “Notifications Area” heading, click on the “Turn System Icons on or off” button.
- Toggle all of the icons in the next window one by one by turning them off for a couple of seconds and then turning them back on.
- After completing this process, navigate back to the desktop by closing out of this window.
- Check to see if doing so has fixed the issue.


Method 12: Run Windows Maintenance Troubleshooter
It is possible that there might be some leftover files on your computer due to which there is a shortage of system paging memory or if there are leftover shortcuts from certain applications, that can also prevent the taskbar from functioning correctly. Therefore, in this step, we will be running the Windows Maintenance Troubleshooter and then check to see if doing so fixes this issue. For that:
- Press “Windows’ + “R” to open the Run prompt.
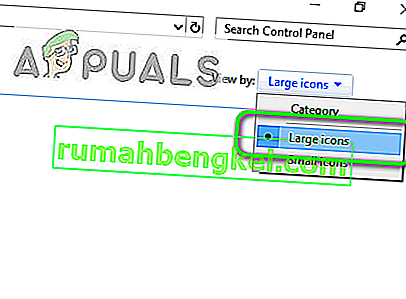
- Type in “Control Panel” and press “Enter” to launch the classical control panel interface.

- Click on the “View By:” option from the top and select the “Large Icons” option from the menu.
- In the next window, click on the “Troubleshooting” option and then click on the “Run Maintenance Tasks” button.
- In the window that pops up, click on the Next button, and provide administrative privileges to successfully run this task.
- Wait for the Maintenance to be completed and check to see if doing so has fixed the issue with the frozen taskbar.


Method 13: Use DDU to Perform a Clean Install
In some cases, it is possible that the Graphics Card installed on the system might have a faulty driver installed due to which this issue is being triggered. Therefore, in this step, we will be performing a Clean install of the Graphics Driver by uninstalling the Driver using DDU and then we will check to see if doing so has fixed the issue with the Taskbar. For that:
- Make sure to back up any important data before performing this step in case something goes unexpected.
- Download the DDU software from this website.
- After downloading the software, extract the zip file and open the folder where it has been extracted.
- Run the “.exe” file inside the folder and it will automatically further extract inside the same folder.
- Open the newly extracted folder and click on the “Display Driver Uninstaller.exe”.
- Click on the “Select Device Type” dropdown and select “GPU”.
- In the other dropdown, select the manufacturer of your GPU and then click on the “Clean and do not Restart” option.
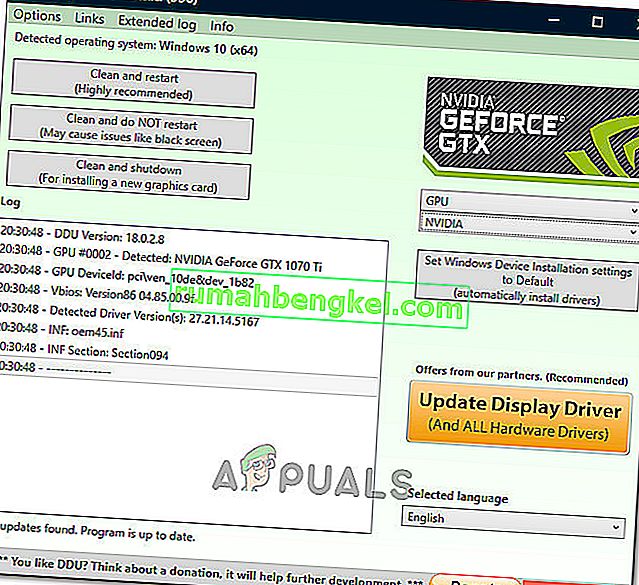
- This will uninstall the device driver for your GPU and it should automatically shift to the Microsoft Basic Visual Adapter.
- After uninstalling this software, download the GPU driver from your manufacturer’s website by specifying your exact make and model.
- Install this software on your computer and then check to see if doing so fixes the taskbar freezing issue on your computer.

Method 14: Stopping Windows Service
In some situations, it is possible that a certain Windows service might need to be stopped from the task manager. Therefore, in this step, we will be preventing it from running in the background as it has likely hanged due to which the taskbar is being frozen. In order to stop this service:
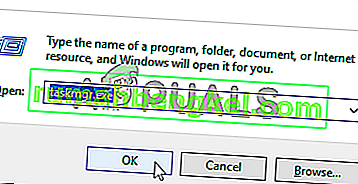
- Press “Windows’ + “R” to open the Run prompt.
- Type in “taskmgr” and press “Enter” to open the Task Manager.
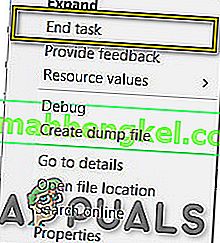
- Click on the “Processes” tab and from the list, click on the “Service Host: DCOM Server Process Launcher” service.
- Click on the “End Task” button and close out of the task manager.
- After closing out of the task manager, check to see if doing so has fixed the frozen taskbar situation.

Method 15: Stop Microsoft Edge and Remove it from Taskbar
In some situations, the default browser that comes installed with Microsoft Windows might just be the culprit behind this whole issue. If you are using another browser as your go-to default browser, you might see that using the Microsoft Edge browser causes issues with the taskbar. Therefore, in this step, we will be stopping Microsoft Edge from the Task Manager and then we will remove it from the taskbar. For that:
- Press “Windows’ + “R” to lauch the Run prompt.
- Type in “taskmgr” and press “Enter” to open the Task Manager.
- Click on the “Processes” tab and from the list, click on the “Microsoft Edge” browser.
- Click on the “End Task” button and close the task manager.
- If the Taskbar is still frozen, restart your computer and repeat this process.
- After doing so, right-click on the Microsoft Edge icon in the taskbar.
- Select the “Unpin from Taskbar” option to remove Microsoft Edge from your taskbar.
- Check to see if doing so fixes the issue.

Method 16: Remove Outdated References
It is possible that your Registry might be plagued with outdated references to an old operating system that you might’ve upgraded from. Even if you have removed the Windows.old folder from your computer, some driver and registry files might still be associated with the “Windows.old” folder which practically doesn’t exist on your computer and this misconfiguration might prevent your computer from working properly. Therefore, in this step, we will be removing it from the registry editor. For that:
- Press “Windows’ + “R’ to open the Run prompt.
- Type in “regedit” and press “Enter” to open the registry editor.

- Press “Ctrl” + “F” to open the finder and type in the “c:\windows.old” line and press “Enter” to find any registry related entries.
- Delete or remove any such entries that refer to this and run an SFC scan to check for any missing files.
- Make sure to install any missing drivers using Driver Easy and then check to see if the Frozen Taskbar issue has been fixed.

Method 17: Rollback Updates
In some situations, Windows might’ve acquired some updates that are preventing your computer from functioning properly and due to this, the taskbar feature has been broken. Therefore, in this step, we will be rolling back some recently installed updates and then we will check to see if doing so fixes the frozen taskbar issue. In order to do that:
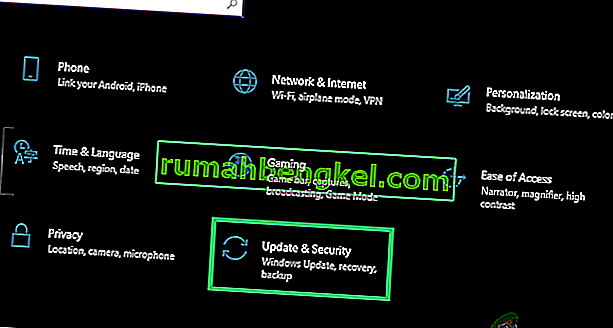
- Press “Windows’ + “I” buttons on your keyboard to open the Windows settings.
- In the Windows Settings, click on the “Update and Security” button and from the left pane, select “Windows Update”.
- On the next screen, select the “Update History” button and it should lead to a new window.
- In the new window, there should be an “Uninstall Updates” button and by clicking on it, a prompt should open that should enable you to be able to uninstall an update.

- Follow the on-screen instructions to be able to fully remove the update and check to see if the issue persists after doing so.


Method 18: Signing out of Account
It is possible that the Windows Taskbar is getting frozen due to a glitch during the account login. Therefore, we can test this out by simply signing out of our account and then signing back in to ensure that the account is logged in properly and that it is properly registered with the Microsoft Servers. In order to do so:
- Press “Ctrl” + “Alt” + “Del” buttons on your keyboard to open up the account options.
- Click on the “Sign out” option from the screen to log out of your account.

- Wait for Windows to completely sign you out of your account and confirm any prompts on your screen to complete the sign-out process.
- Select your account and sign back into your account from the next screen by entering your login details.
- Check to see if doing so has fixed the frozen taskbar issue on your account.

Method 19: Creating Batch File
Most people found that restarting the Windows Explorer fixed their issue but for some of them, it kept coming back after a while. Therefore, in this step, we figured out a way for the people that can solve it by restarting but all they will have to do is click on a batch file present on their desktops. For that:
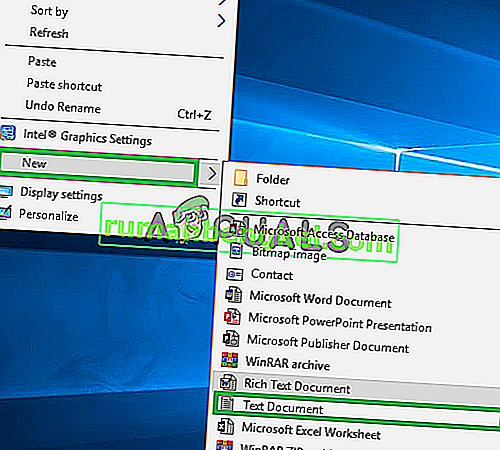
- Right-click anywhere on your desktop and select the “New>” option.
- Click on the “Text Document” option and a new text document will be created on your desktop.
- Open this text document and paste the following lines inside of the text document.
taskkill /f /IM explorer.exe start explorer.exe exit
- Click on the “File” option at the top left of the window and select the “Save As” option.
- Enter the “TaskMRestart.bat” as the file name and select “All Files” from the “File Type” dropdown.
- Save this file on your desktop and exit out of the document.
- Now, double-clicking on this newly saved file should automatically restart File Explorer which should fix the Frozen taskbar issue within a second.
- You can just click on the file whenever the taskbar freezes and it should fix itself.

Method 20: Perform an Update
The frozen taskbar issue was a very famous topic on most Microsoft forums and apparently a lot of Microsoft officials took note of it. Therefore, it is possible that this issue might’ve been fixed for some people in recent updates released by Microsoft. Therefore, in this step, we will be checking for any available updates from Microsoft and installing them on our devices. For that:
- Press “Windows” + “I” to open the settings.
- In the settings, click on the “Update and Security” option and then select the “WindowsUpdate” button from the left side.
- In the Windows Update, click on the “Check for Updates” button and a prompt will be registered that will automatically check for any newly available updates.

- Install these updates on your computer by following the on-screen instructions and restart your computer.
- Check to see if installing these updates fixes the issue on your computer.

Method 21: Unpinning Items from Start Menu
Some people like to pin important items to the start menu for ease of access and increased productivity. However, as it stands, some Windows users have been facing the frozen taskbar issue due to these pinned items. Therefore, in this step, we will be unpinning some items from the start menu and the taskbar and then we will check to see if doing so fixes the frozen taskbar bug.
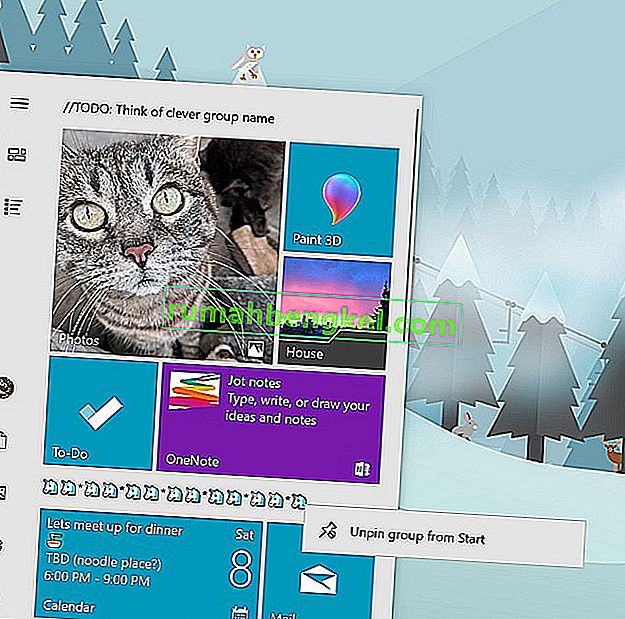
- Press the “Windows” button on your keyboard to launch the start menu.
- Inside the start menu, right-click on a tile on the right side of the start menu.
- Select the “Unpin from Start Menu” button to remove the item from the Start menu tiles.
- After removing some items, check to see if the bug is fixed.
- Try removing all the items that can be removed if the bug comes back and check again.
- For a more accurate removal, try removing all the programs from the taskbar and the Start menu that try to connect to the internet, for example, Microsoft Edge, Cortana, News, etc.

Method 22: Disable Items from Bios
It is possible in some cases that the computer’s Bios has been improperly configured due to which the Windows Taskbar is getting frozen time and time again. Therefore, in this step, we will first be booting inside the Bios from which we will disable an option that should get rid of this problem if it was based around the Bios. In order to do so:
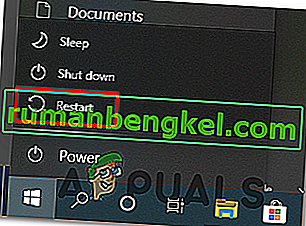
- Press the “Windows” button on your keyboard and click on the “Power Button” icon.
- Select the “Restart” option from the list and wait for your computer to prompt a restart.
- When the computer shuts down and starts booting up, start pressing the “Del”, “F12” or “F11” key depending upon your motherboard to boot inside the computer’s bios.
- From the bios, navigate through different settings until you find the “iGPU Multi-Monitor” feature.
- Disable this feature inside the Bios and boot back into Windows.
- Check to see if disabling this feature worked and fixed the frozen taskbar error.